Skip to content

Magna-Mike 8600

Magna-Mike 8600

The Magna-MikeĀ® 8600 is a portable thickness gauge that uses technology based on a magnetic principle to ensure reliable and repeatable measurements on components made of nonferrous materials. Its operation is extremely simple: to take a measurement, simply place or slide the magnetic probe on one side of the component to be inspected and place a small ball target, disk or wire, on the opposite side. The target can also be placed inside a container, making the instrument ideal for applications where direct access on both sides of the material is limited.

01
Overall dimensions
236 mm x 167 mm x 70 mm
02
Weight
1.68 kg, including lithium-ion battery
03
Keypad
English, Japanese, Chinese and International
04
Languages
English, Spanish, French, German, Japanese, Chinese, Portuguese, Swedish, Norwegian, Dutch, Polish, Russian, Hungarian, Czech and Italian
05
Data storage
Internal device and removable 2 GB microSD card
06
Certification
ISO 18563-1:2015 EN12668-1:2010
07
Battery life (optional)
16 hours (lithium ion)
08
Power needs
Mains: 100 VAC to 120 VAC, 200 VAC to 240 VAC
09
Type of display
Full VGA (640 x 480 pixels) color transflective LCD
10
Display Dimensions (L x W, Diag.)
117 mm x 89 mm, 146 mm
11
Minimum/Maximum acquisition mode
Acquisition with 60 Hz refresh rate
12
Display refresh rate
4, 8, 16 e 20 Hz
13
Alarm
High and low alarms
14
Resolution
0.1 mm, 0.01 mm and 0.001 mm (depending on thickness range)
15
Data logger
Internal file-based alphanumeric datalogger

Why choose Magna-Mike 8600?

01

Reliable thickness measurements

The Magna-MikeĀ® 8600 Portable Thickness Gauge uses simple and effective magnetic technology to obtain precise, repeatable measurements on nonferrous materials. Its operation is intuitive: just position or slide the magnetic probe on one side of the component to be inspected and place a small sphere, disc or wire target on the opposite side. The target can also be placed inside a container, making the instrument versatile for different applications. Thanks to the Hall effect sensor, the meter precisely detects the distance between the probe tip and the target, instantly displaying the results as easy-to-read digital readings.

02

Three versatile probe sizes

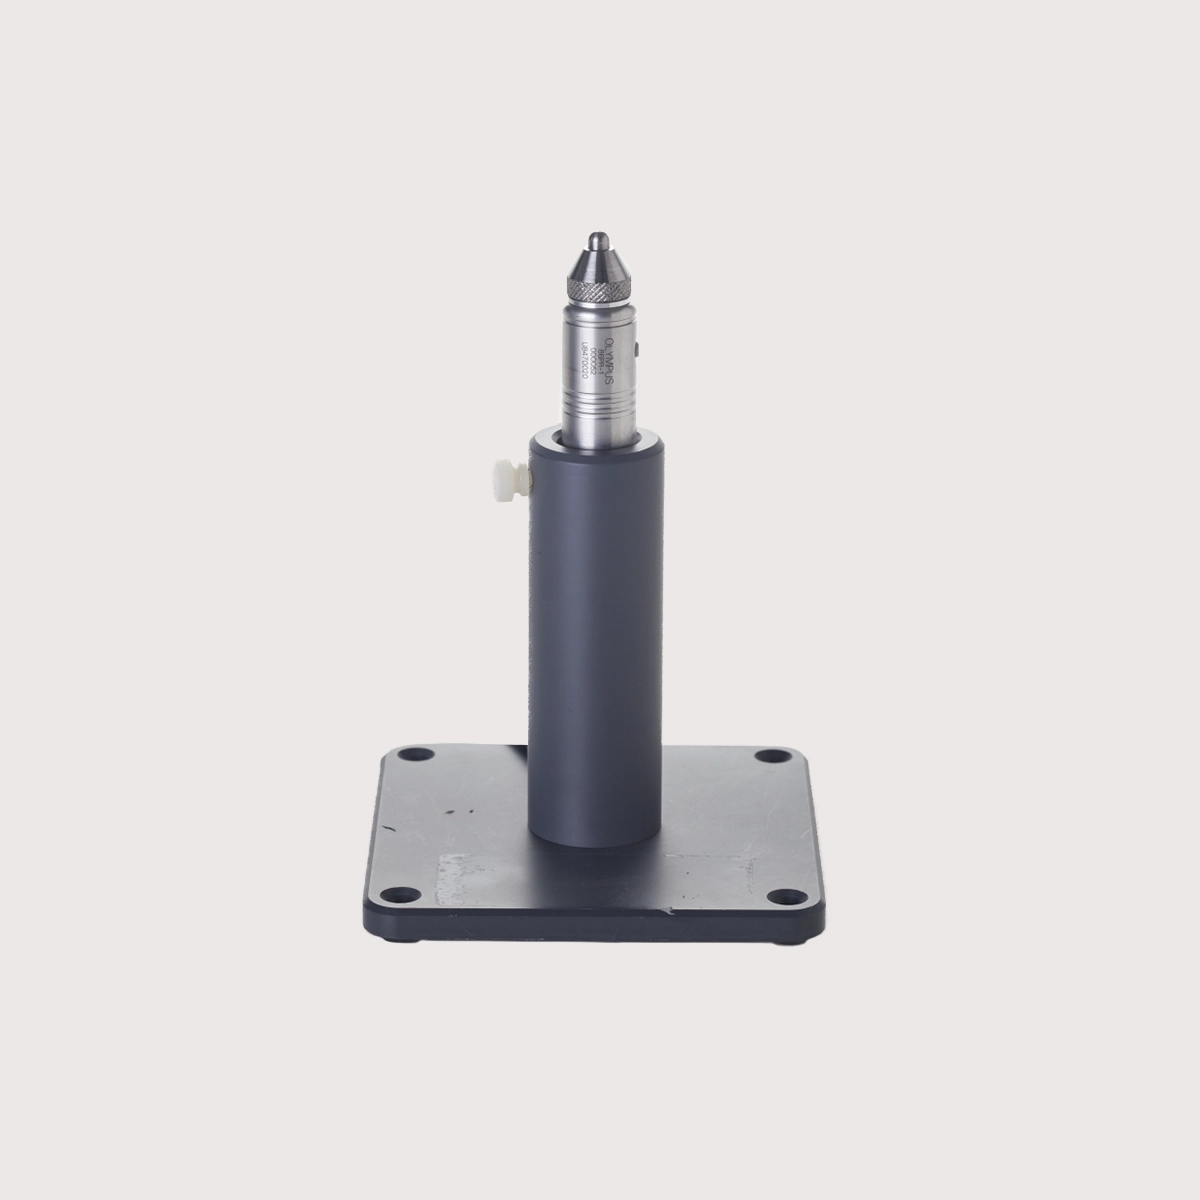
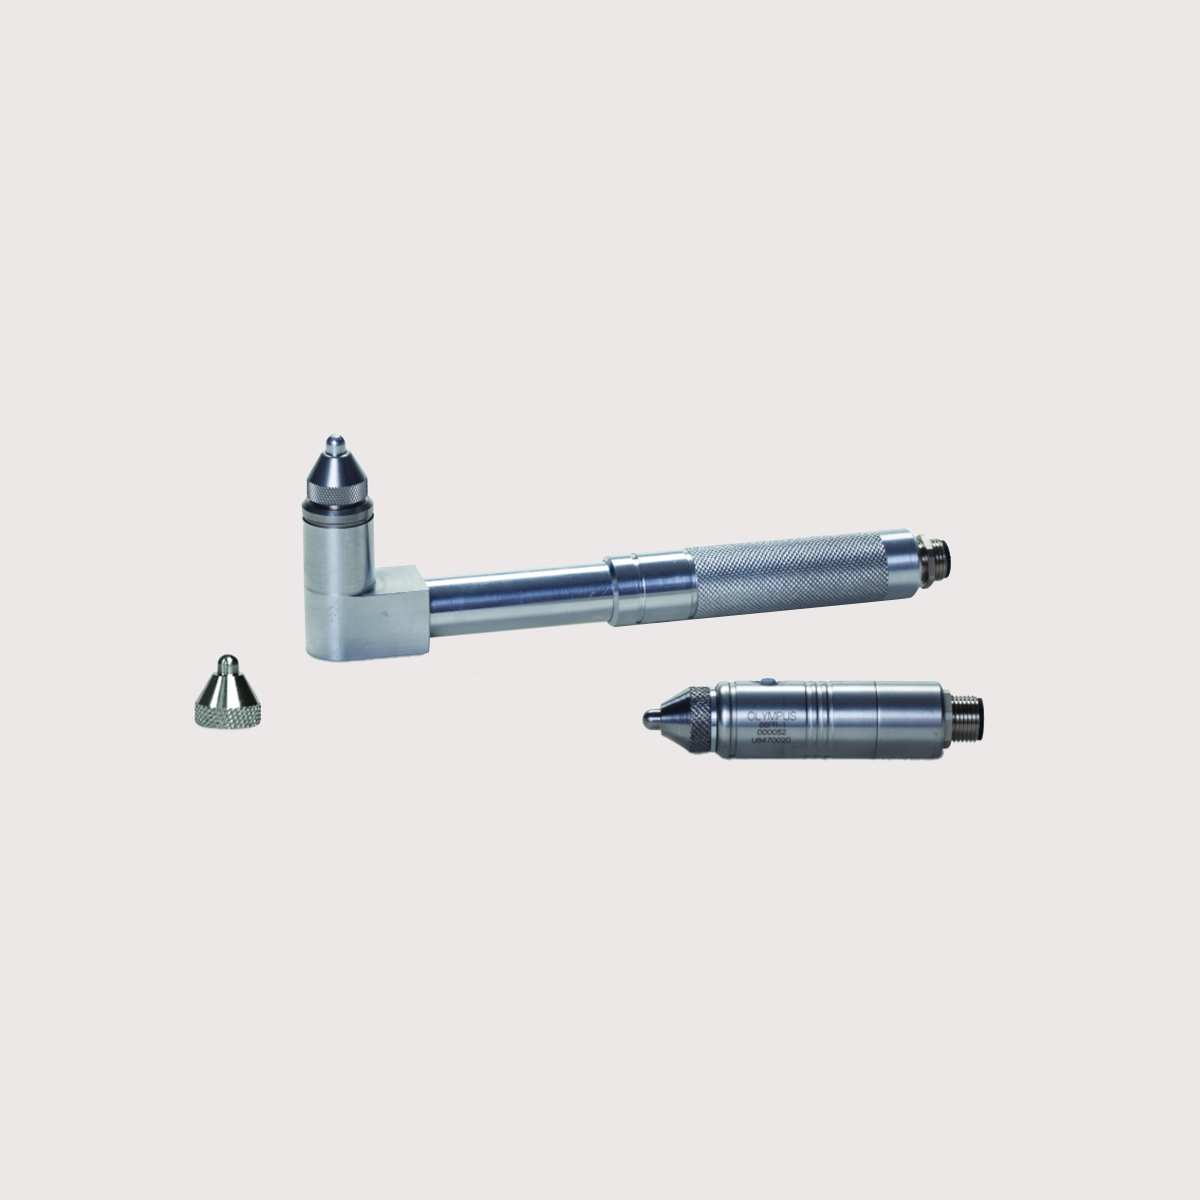
The Magna-Mike 8600 is available with three different probe sizes to accommodate various measurement needs: straight probes, right-angle probes, and low-profile articulating magnetic probes. Additionally, the 86PR-1 and 86PR-2 include replaceable caps that extend life and reduce maintenance costs.

03

Measurement of plastic and glass bottles and containers

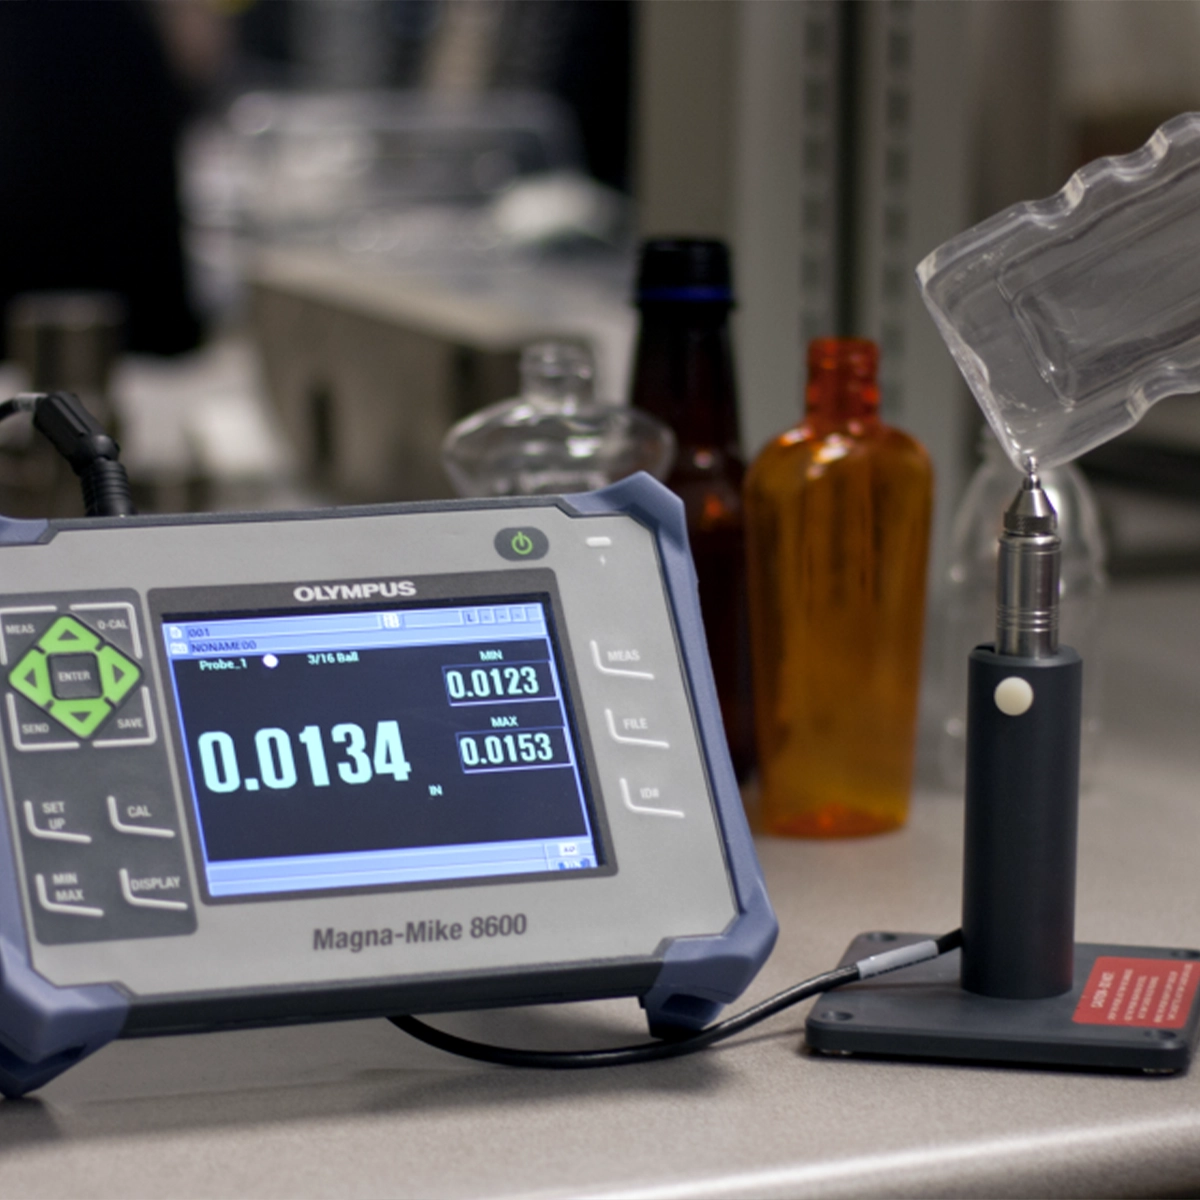
To check the thickness of plastic or glass containers, simply insert a small ball target inside the container. The magnetic probe, positioned outside, attracts the target allowing it to follow every movement of the probe while scanning surfaces and corners. Thanks to the Minimum Mode function, the gauge is able to automatically identify the minimum thickness of the material, ensuring fast and accurate measurements.

04

Advanced aerospace and industrial applications

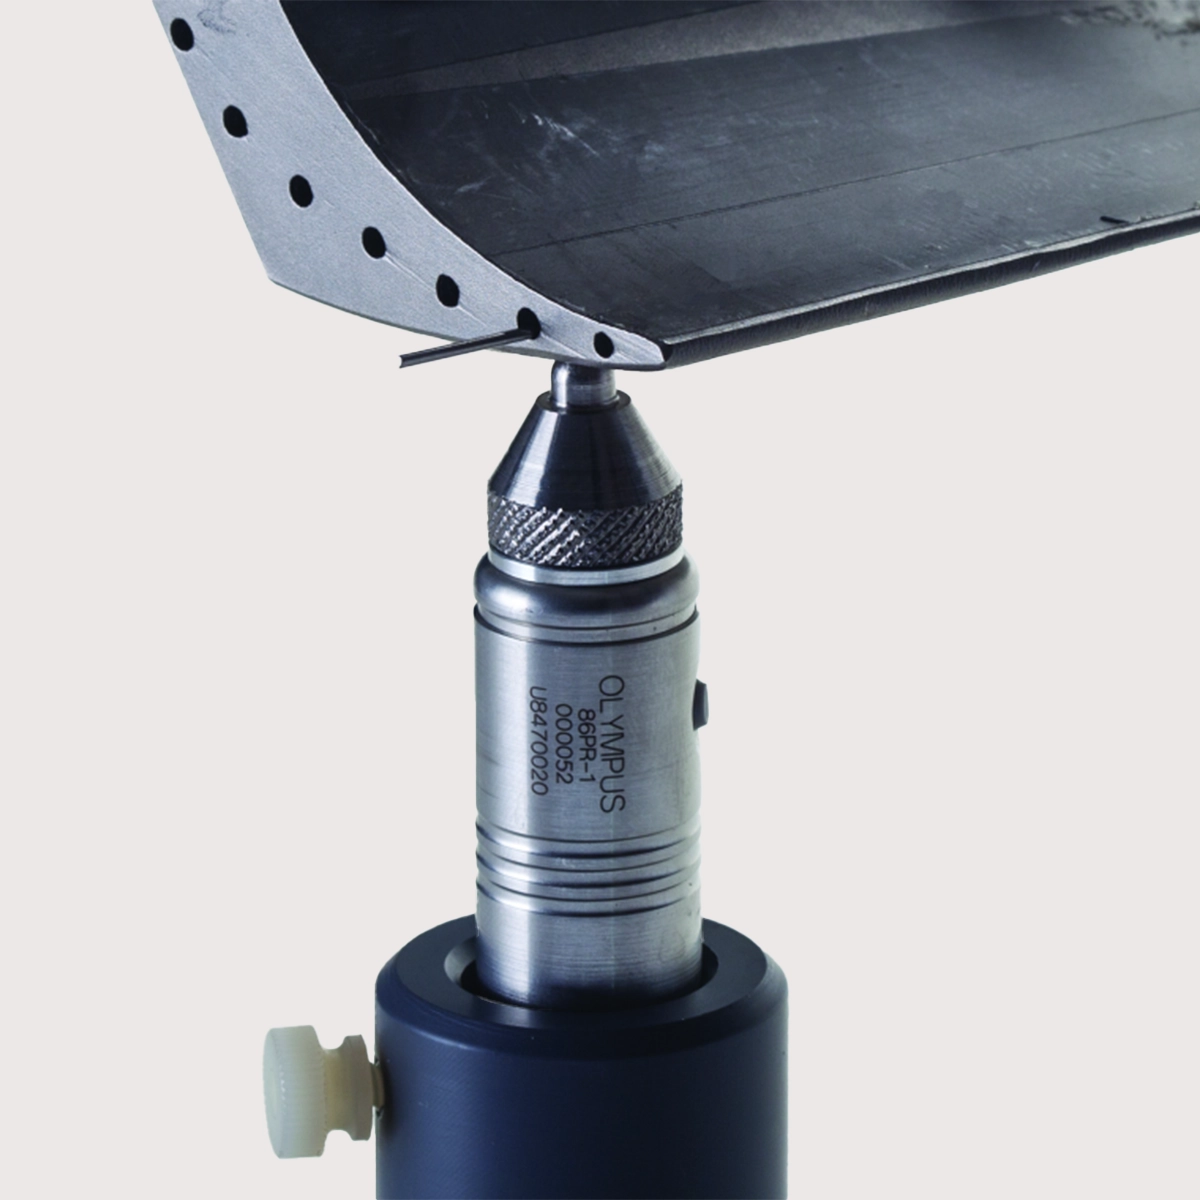
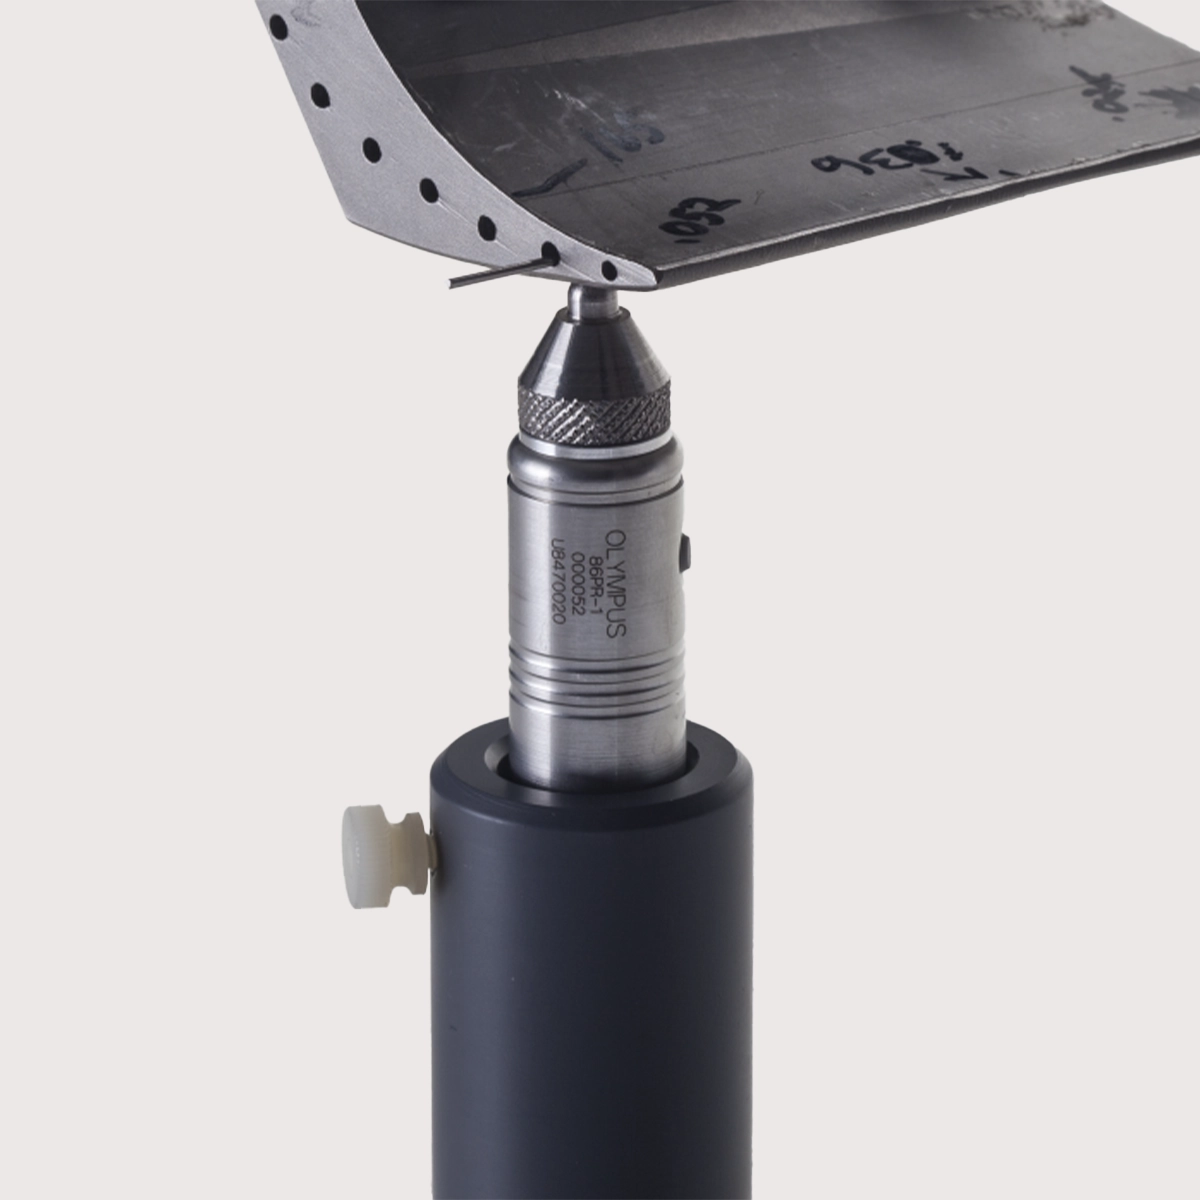
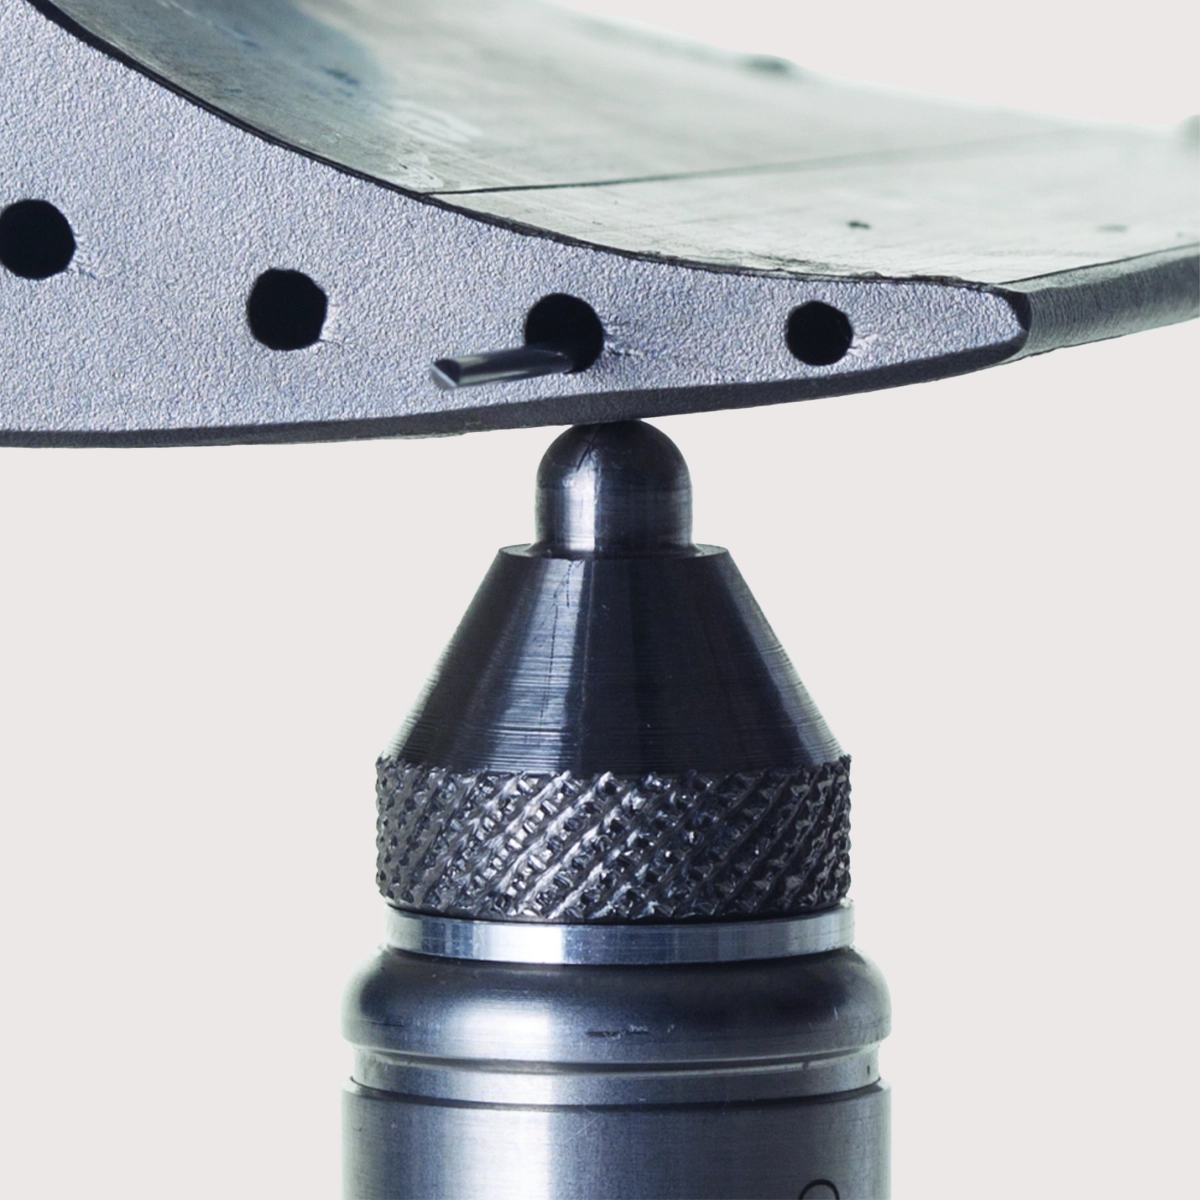
The Magna-Mike 8600 has been successfully integrated into aerospace quality control programs, proving ideal for measuring components made of composite and non-ferrous materials. Wire targets can be inserted into the cooling holes of turbine blades for precise thickness analysis, while magnetic ball targets are used to measure aircraft engine components with thicknesses up to 25.4 mm, making this instrument an advanced solution for the aerospace industry and other specialized applications.

05

Joint measurement in the automotive sector

The Magna-Mike 8600 is particularly effective for measuring thin seams in the automotive sector, thanks to the use of the standard probe, disc target and removable tip cap. This configuration allows a detailed analysis of the joints between components, ensuring reliable quality control in the automotive sector.