Skip to content

OmniScan SX

OmniScan SX

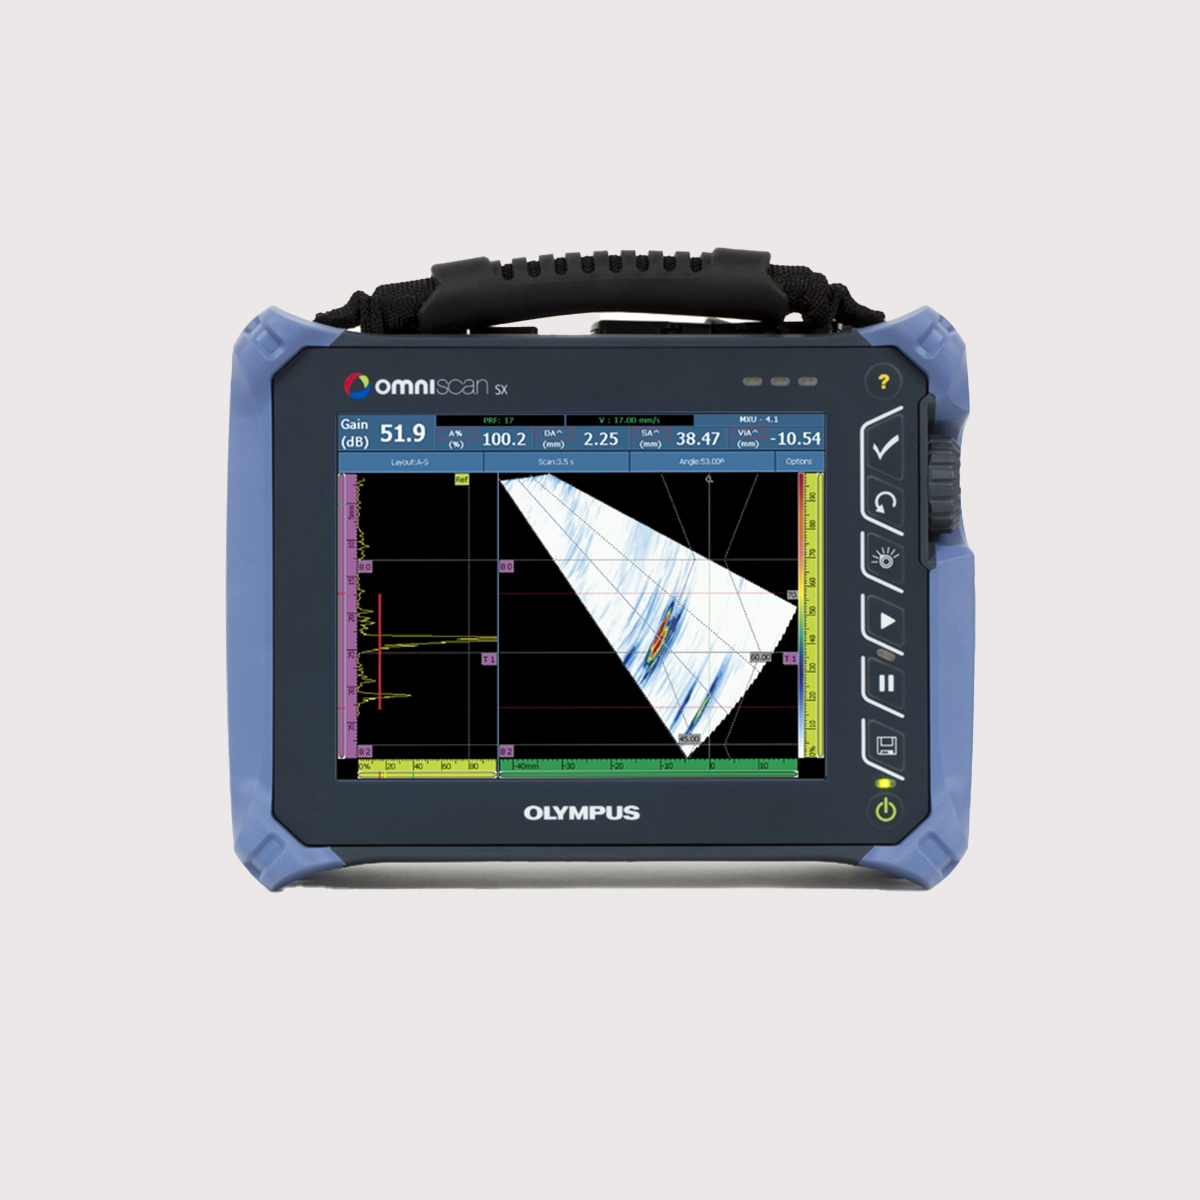
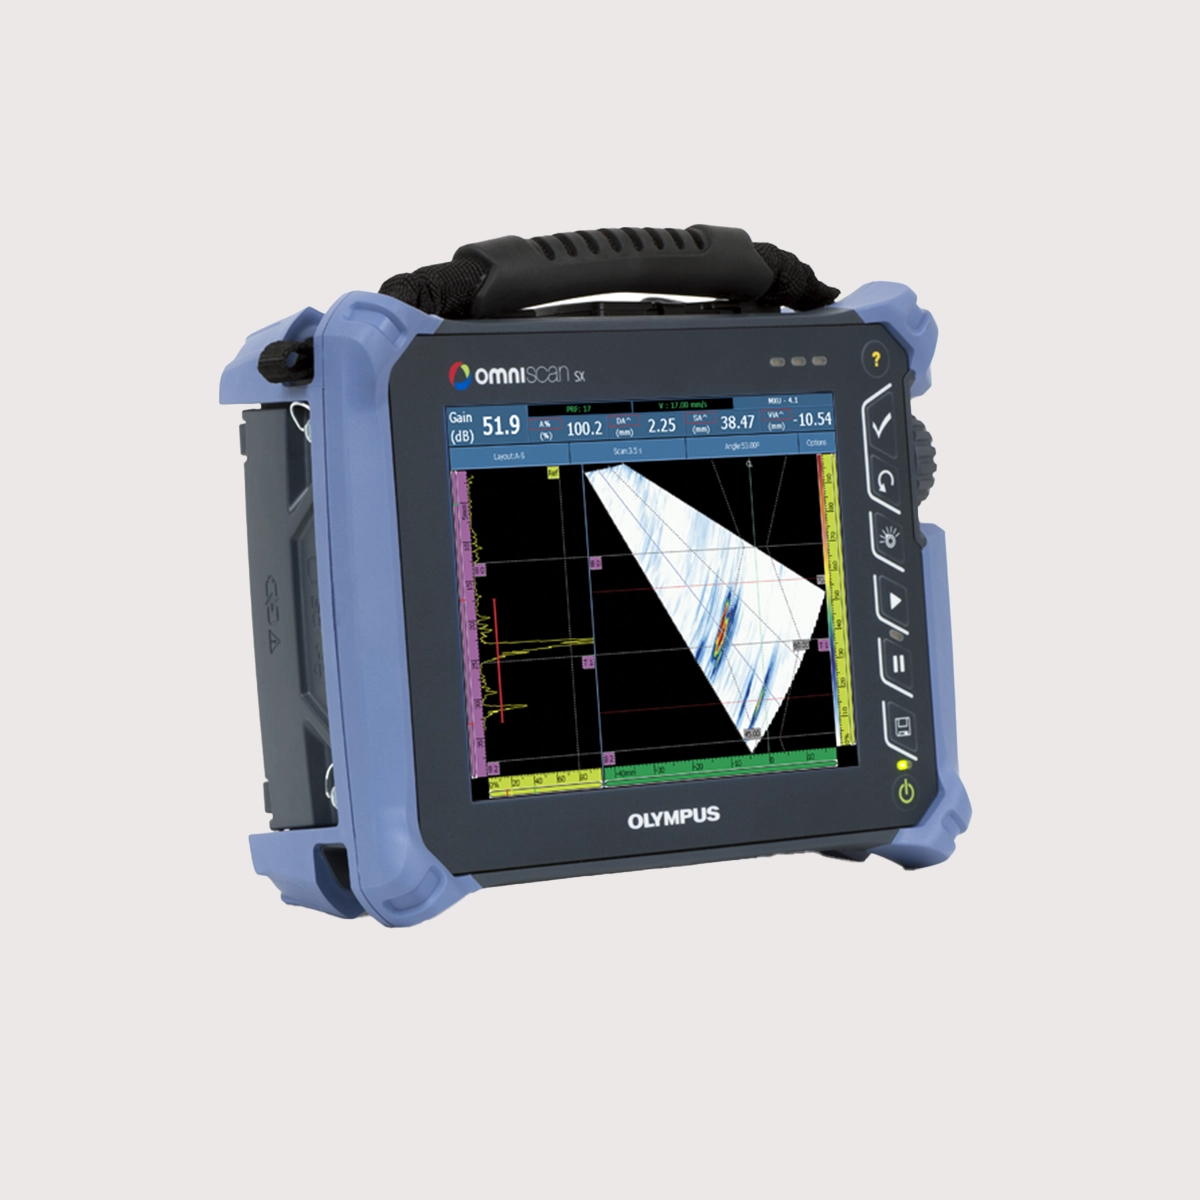
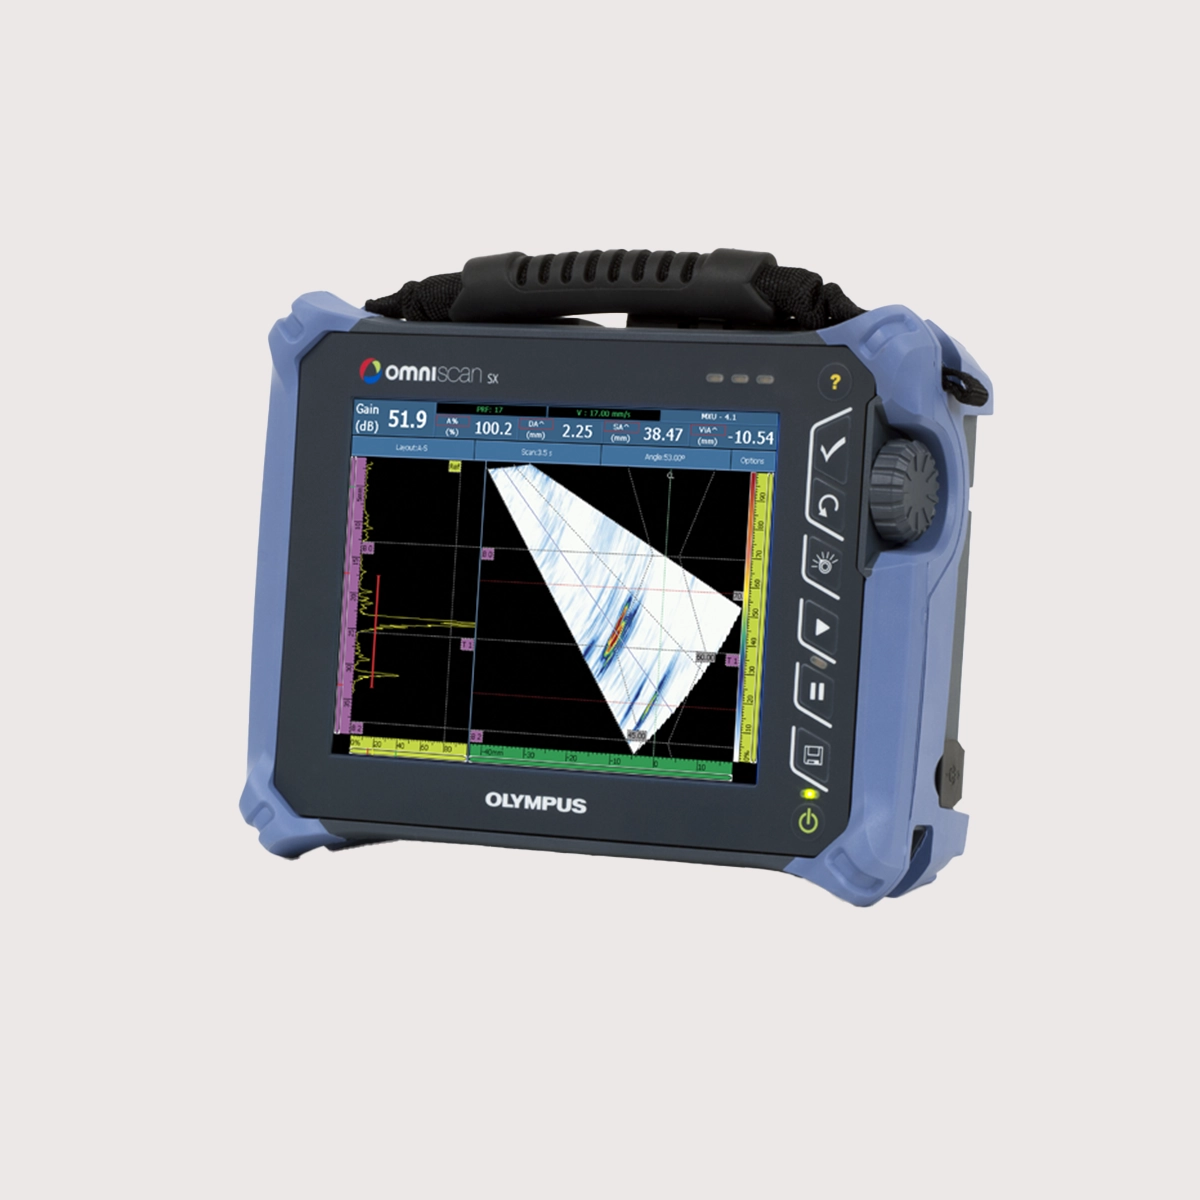
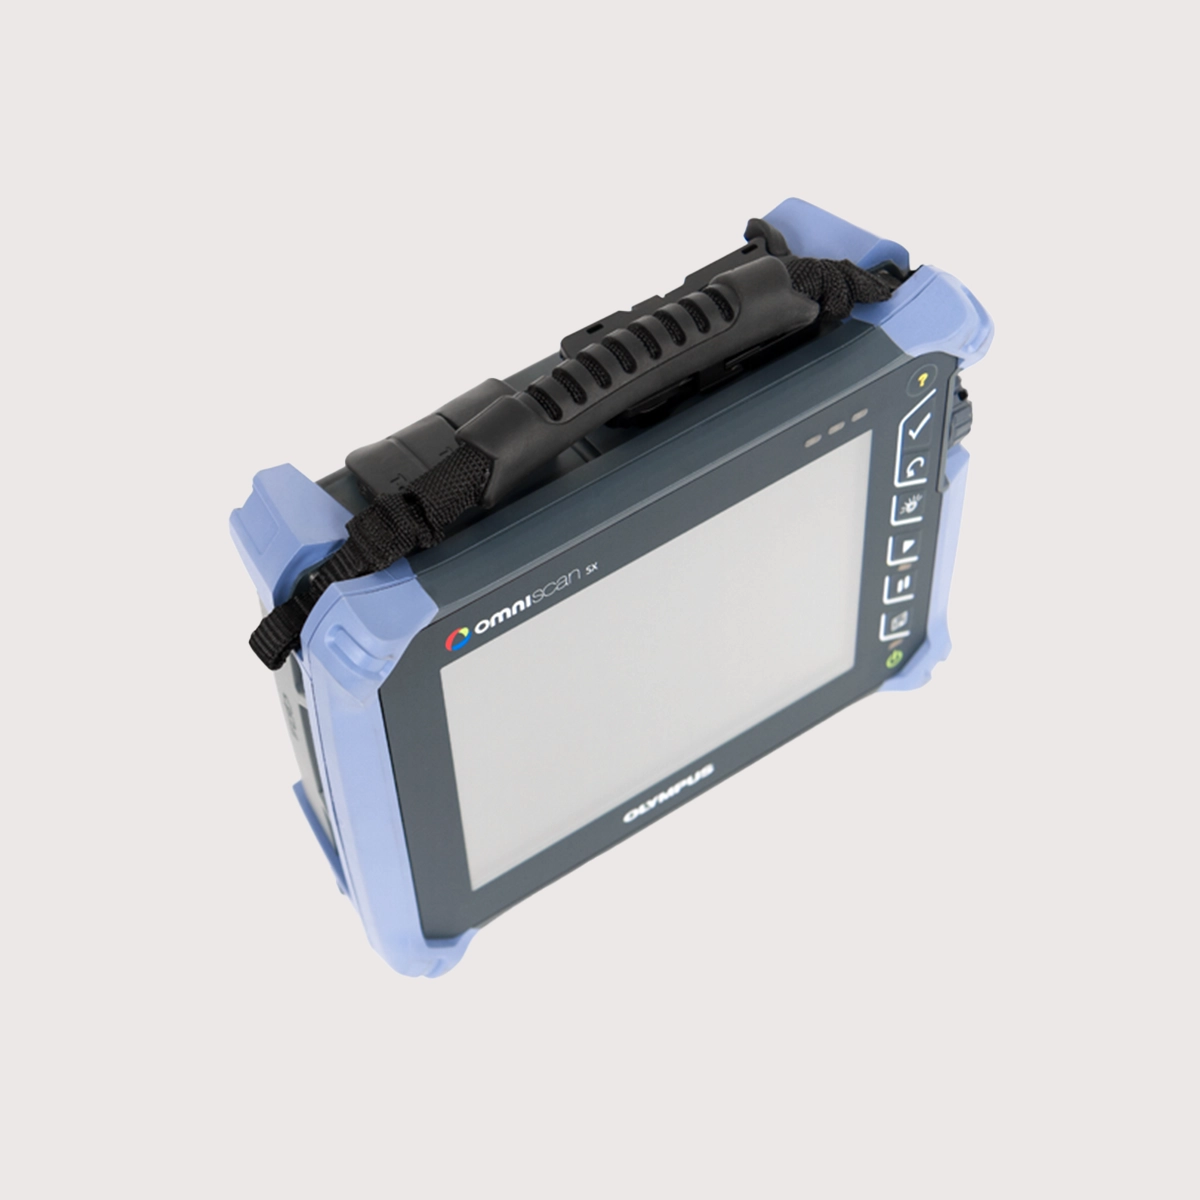
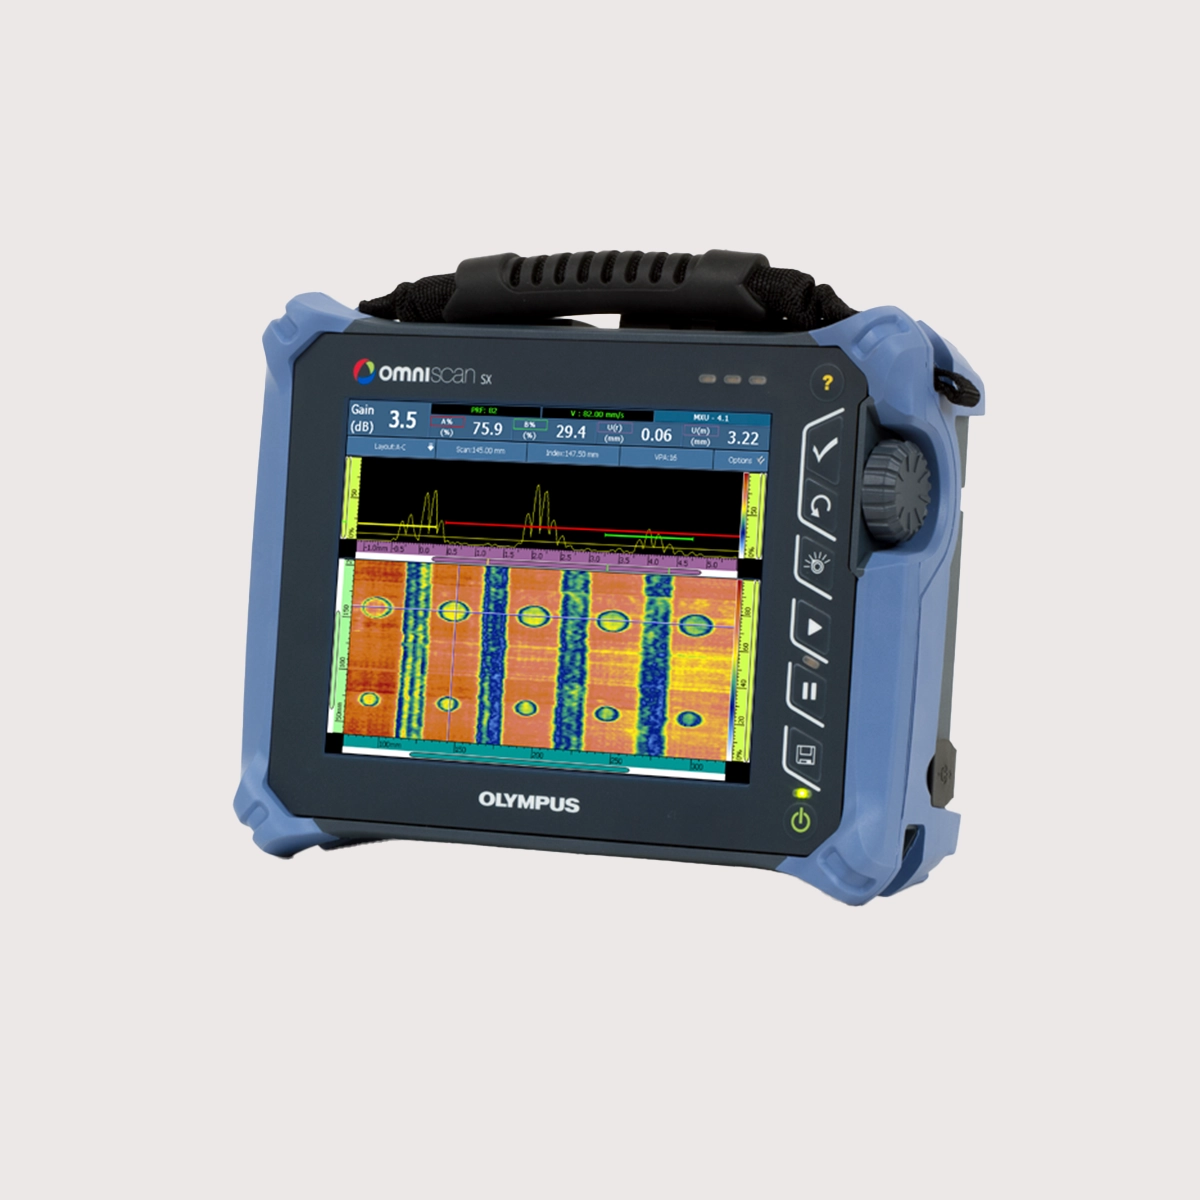
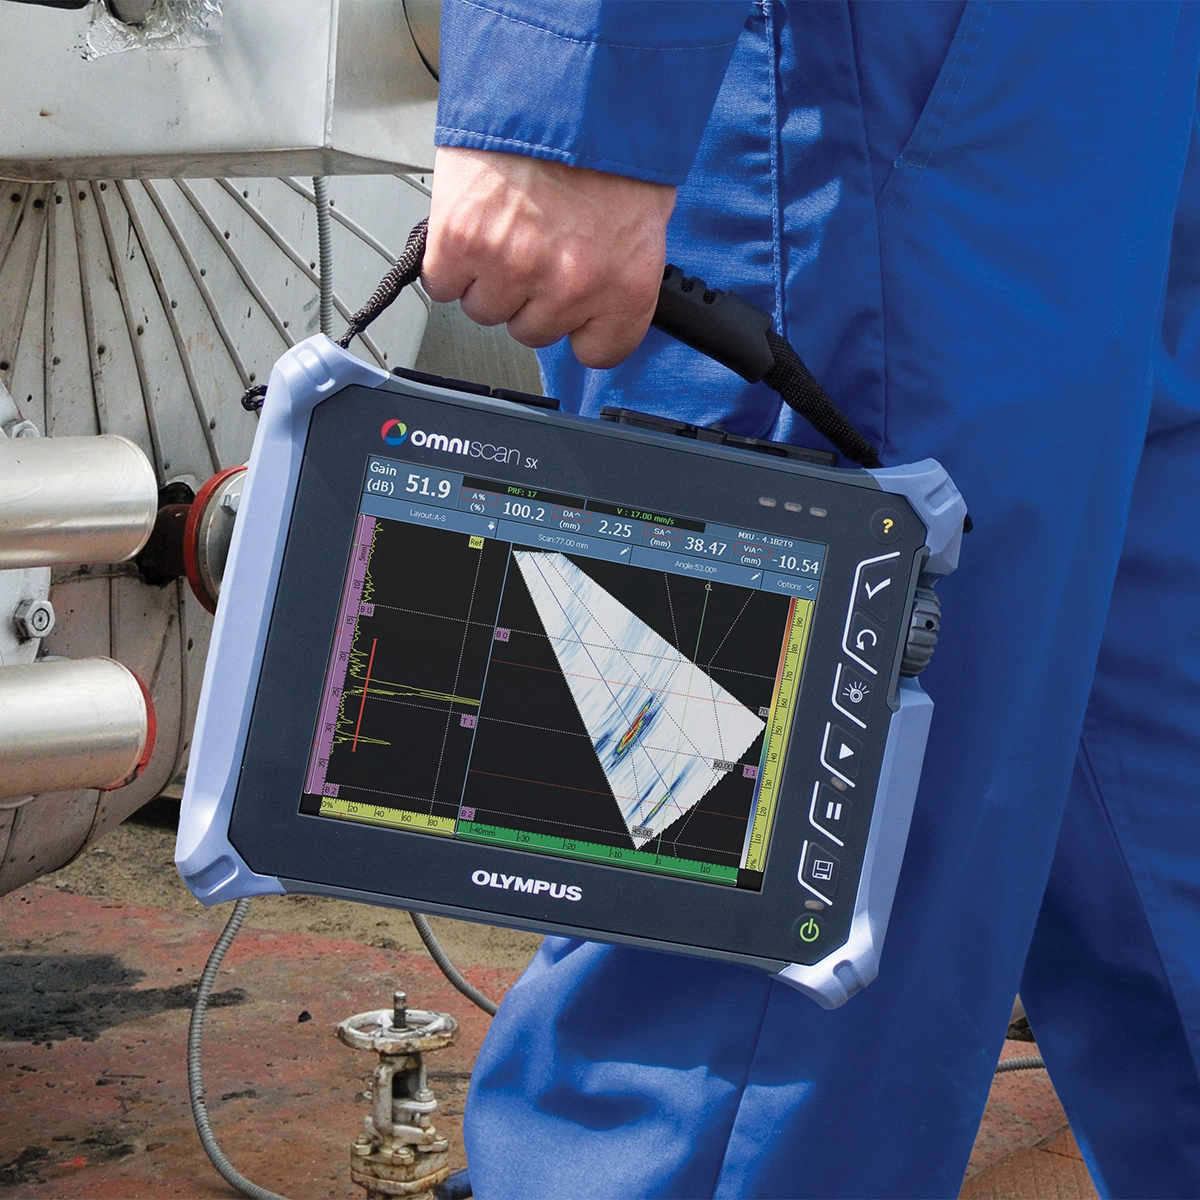
The OmniScan SX is available in two versions, SX PA, phased array 16:64PR and with a conventional UT channel, SX UT is equipped with a conventional UT channel for pulse-echo, pitch-catch and TOFD inspections. Compared with the OmniScan MX2, the SX is 33% lighter in weight and 50% smaller in size, so it provides unprecedented portability for an OmniScan.

01
Dimensions (Width × Height × Depth)
267 mm × 208 mm × 94 mm
02
Weight
3,4 kg with battery
03
Storage devices
SDHC card or common USB memory media
04
Maximum data file size
300 MB
05
USB ports
2 USB ports compliant with USB 2.0 specifications
06
Acoustic alarm
Yes
07
Video output
SVGA

Why choose OmniScan SX?

01

Configuration

The OmniScan SX allows for a quick and easy inspection setup. You can run the setup with NDT SetupBuilder and import it directly into the instrument via SD card or USB media. Once loaded, just a few steps, such as defining gates and scale, are enough to begin acquisition. Alternatively, the configuration can be created directly on the OmniScan SX thanks to integrated features such as automatic probe recognition, one-step wizard, and RayTracing and Weld Overlay simulation.

02

Calibration

To ensure regulatory-compliant inspection, the OmniScan SX includes a calibration wizard that simplifies every step of the process. Each focal law of each group is calibrated like a conventional single-channel flaw detector. The user is assisted step by step in calibrating the speed, socket delay, sensitivity, TCG, DAC, AWS and encoder. Additionally, advanced functions for lateral wave rectification and PCS-TOFD calibration are included.

03

Acquisition

The OmniScan SX offers an intuitive setup for manual, single-axis or matrix scanning with encoders. The acquired data is displayed in real time in customizable views and can be recorded on SD card or USB 2.0 support with hot-swappable mode. The interface is designed to streamline defect analysis, with intuitive layouts, full-screen mode for clearer viewing, and multiple timing and measurement options via gate combinations.

04

Data analysis and reporting

The OmniScan SX integrates advanced tools for analyzing data and generating detailed reports. You can use measurement and reference cursors to size defects and access an extensive database of predefined readings, including trigonometric data, defect statistics, volumetric information, and codes based on acceptance criteria. Views are interconnected for interactive analysis, with automatic updates during offline repositioning of gates. Pre-configured layouts make it easy to dimension the length, depth and height of defects. For advanced analysis on a computer and to optimize field work times, the OmniPC and TomoView software represent the ideal complement to the OmniScan SX.